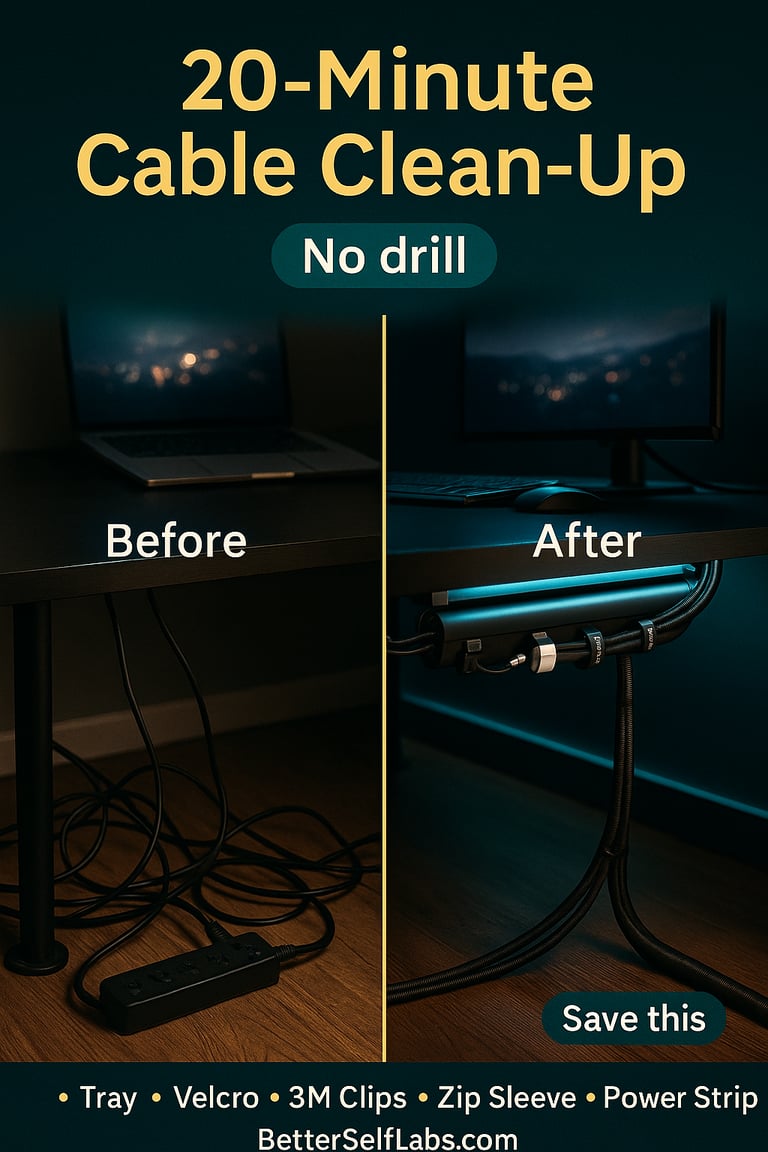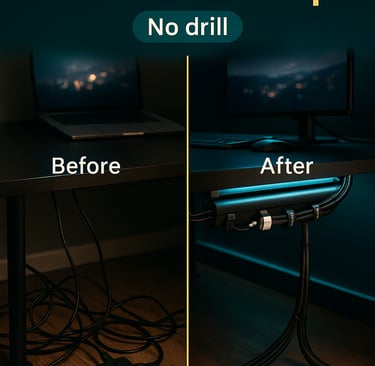
Under-Desk Cable Management (No-Drill, 20-Min)
Renter-safe. Fast. Looks pro. If your desk looks like a squid farm, fix it tonight—no drilling, no “Pinterest-only” hacks. Below is the tightest method that actually holds up and survives standing-desk motion.
DIY GUIDES
9/21/20253 min read
What you’ll do in 20 minutes
Stick an adhesive cable tray under the back edge.
Mount a power strip inside the tray (or next to it).
Group device cables with Velcro ties (never zip ties on desks).
Route along the underside with adhesive clips (3M-style).
Sleeve the floor drop with a zip/spiral sleeve.
Leave slack for chair movement and standing-desk travel.
Label both ends. Done.
No-BS Shopping List (what works; pick equivalents)
Adhesive under-desk tray, 30–60 cm wide, ≥2 kg weight rating. (Look for full-length foam adhesive plus screws as optional—ignore screws; you’re renting.)
Power strip with surge protection + right-angle plug.
Velcro cable ties, 100-pack (you’ll use more than you think).
Adhesive cable clips, mixed sizes (round + rectangular bases).
Cable sleeve (zip or spiral) for the floor drop.
Isopropyl alcohol + microfiber cloth (surface prep).
Painter’s tape + fine marker (labelling).
Reality check: Adhesive only works on clean, smooth, non-porous undersides (laminate, powder-coated metal). Raw wood, dusty MDF, or textured finishes need extra prep—or a clamp-on tray instead.
Minute-by-Minute Plan (20 minutes, honest)
00:00–02:00 — Prep the surface
Flip your chair, kneel under the desk. Wipe the underside twice with isopropyl. Dry fully.
02:00–05:00 — Place the tray
Dry-fit the tray centered near the back edge (not dead center; offset 2–3 cm from the wall so cables can enter). Peel adhesive, press 30–45 sec with firm, even pressure.
Tip: If you can, give adhesive 10 minutes to grip while doing steps below.
05:00–08:00 — Power strip + bricks
Set the strip inside the tray or parallel to it with two large clips. Keep heavy bricks in the tray—not dangling. Leave a service loop (10–15 cm) before the strip.
08:00–12:00 — Group and shorten
For each device (monitor, laptop dock, speakers, charger), Velcro-wrap the extra length into neat coils. Keep data lines (HDMI/USB) separate from AC where possible; if they must cross, do it at 90° to reduce interference.
12:00–16:00 — Route and clip
Run bundles along the underside toward the tray, adding a clip every 20–25 cm and at every corner. Push coils inside the tray. Keep the underside flush—your knees shouldn’t catch.
16:00–18:00 — Floor drop sleeve
Bundle the last 60–80 cm from the desk down to the floor outlet in a sleeve. This removes the visual mess and protects the cables.
18:00–20:00 — Slack + labels
Standing desk? Add a loose loop near the rear leg so cables don’t yank at full height. Label both ends (“Monitor-Left HDMI”, “Dock Power”).
Standing-Desk Specifics (avoid the classic failure)
U-path routing: From tray → down the rear leg closest to the outlet, not the front.
Slack loop: One gentle U-loop behind the leg handles full height without snags.
Heavier gauge power cords don’t like tight bends. Keep radius ≥ 5 cm.
Safety & Reliability (don’t skip)
Power load: Keep the strip below 80% of rated capacity. High-draw heaters on a separate outlet.
Heat: Large power bricks need airflow; don’t wrap them in foam or cover with fabric.
Adhesive cure: Full bond can take 24 hours. It’ll hold now, but avoid yanking today.
Pet-proof: Sleeve + clips stop chewing accidents.
Serviceability: Leave one spare clip path and 2–3 spare outlets for upgrades.
Common Mistakes (and fixes)
Using zip ties everywhere → They cut, scar, and make moves painful. Use Velcro for anything you might change.
Tray too small → Get the next size up. You’ll add gear.
No surface prep → Adhesive falls off in a week. Alcohol wipe is non-negotiable.
Mounting at dead center → You want back edge placement so cables enter cleanly and stay invisible.
Budget & Time
Cost: ₹1,200–₹3,500 ($15–$40) depending on tray and sleeve quality.
Time: 20 minutes if you stick to the plan. Add 10 if you’ve got three monitors.
Maintenance in 60 Seconds (monthly)
Power off, quick check for loose clips, warm the adhesive with your palm and press.
Pull out dust bunnies with a handheld vacuum.
Add/replace Velcro on any cable you adjusted.
FAQ
Will adhesive ruin my desk when I move?
Use quality foam adhesive and slow-peel at a low angle. Remove residue with isopropyl. If your underside is raw wood, choose a clamp-on tray.
What if my outlet is far?
Run a single heavier-gauge extension in a floor sleeve to under the desk, then use your strip in the tray. Fewer floor lines; safer.
Glass desk?
Adhesive + glass is risky. Use clamp-on or a freestanding cable box mounted behind the leg.
Bottom line: this isn’t Instagram theatre—it’s the fastest stable setup that hides wires, protects them, and survives daily movement. Do it once, enjoy the clean desk every day.