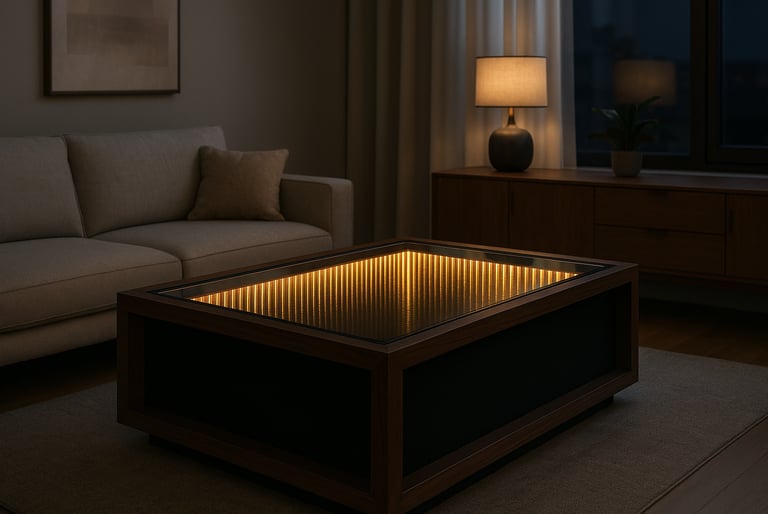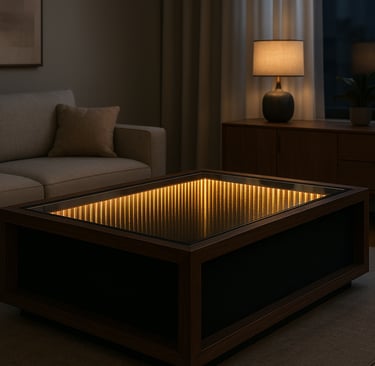
Build an Infinity-Mirror Coffee Table
You can turn a basic coffee table into a hypnotic “endless light” centerpiece without burning cash—or your LEDs. This is the complete build: parts, wiring, safety, and the gotchas most shorts skip.
DIY GUIDES
9/2/20255 min read
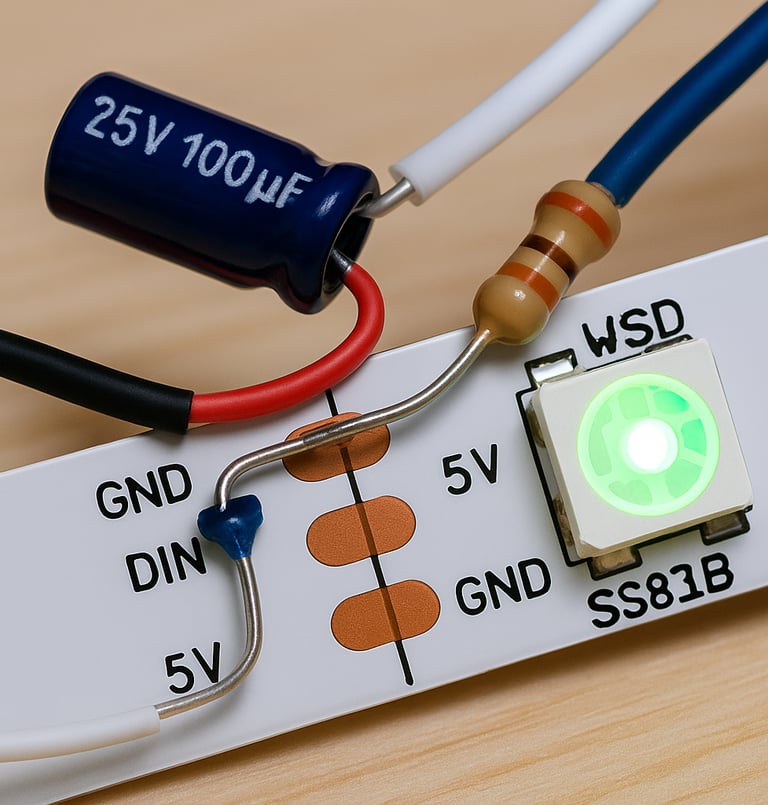
Safety Disclaimer: You’re handling glass/acrylic and low-voltage power. Use a UL-listed power supply matched to your LED voltage, add a fuse, and—if using addressable LEDs—use a 1000 µF capacitor across +/− and a 330–470 Ω resistor on the data line. Never work live. For tabletops, prefer tempered glass. If in doubt, get help from someone experienced.
What you’re building
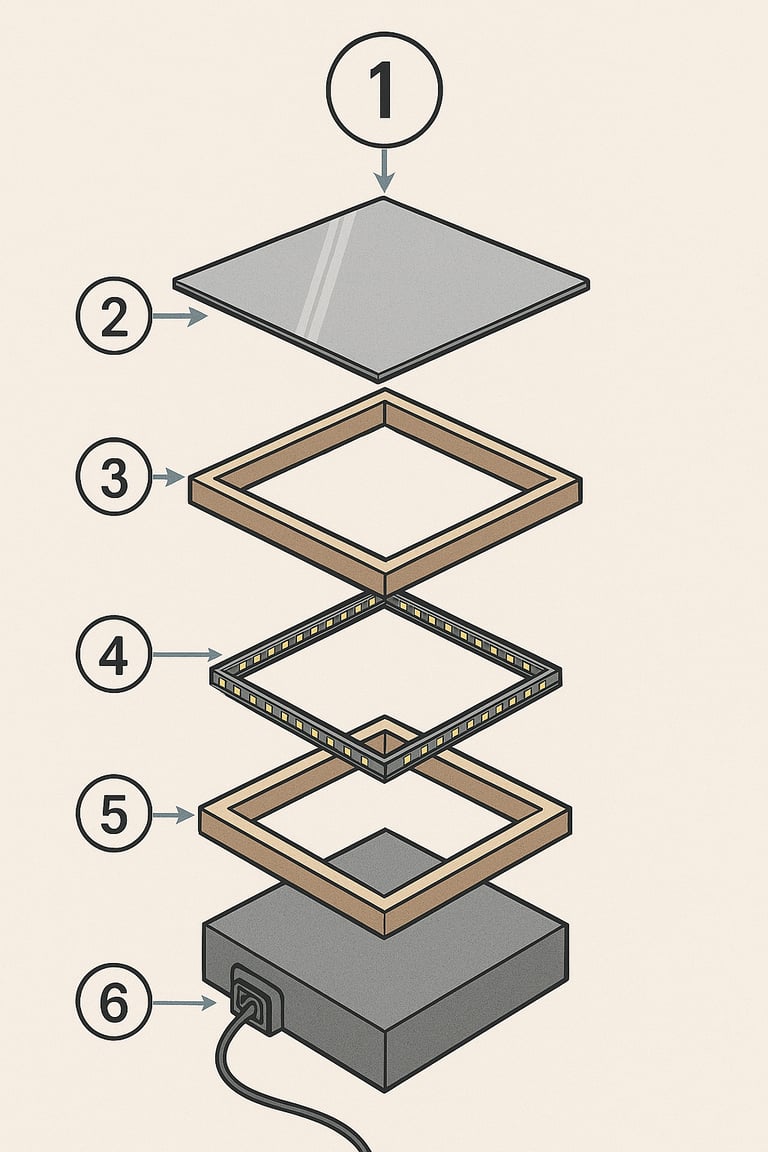
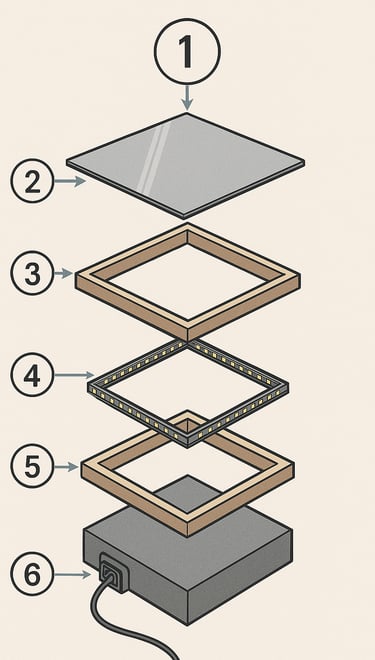
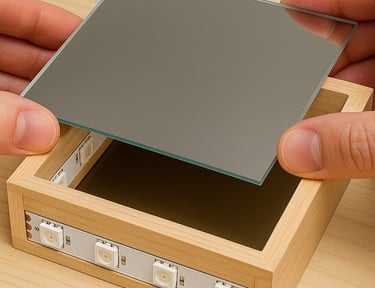
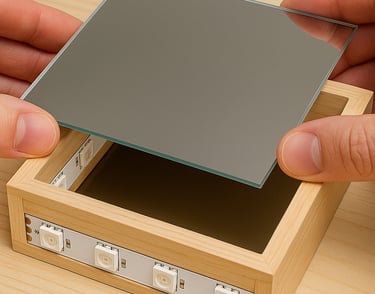
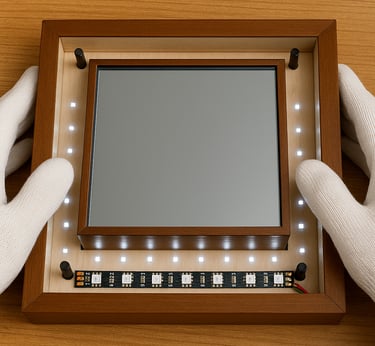
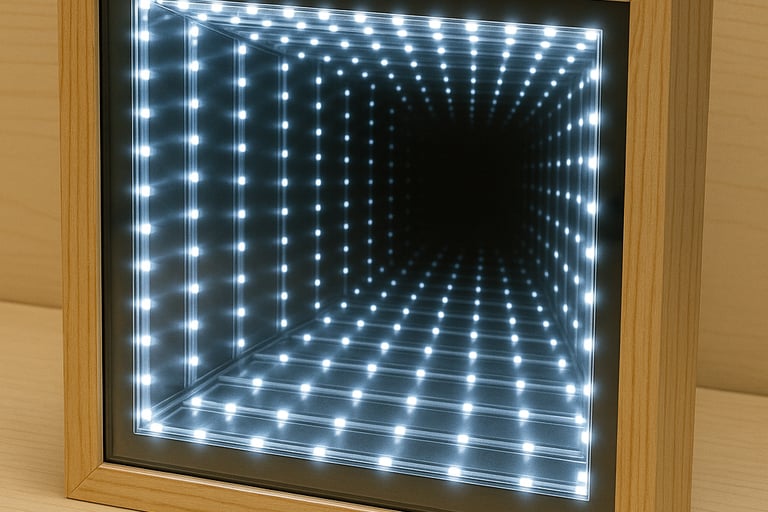
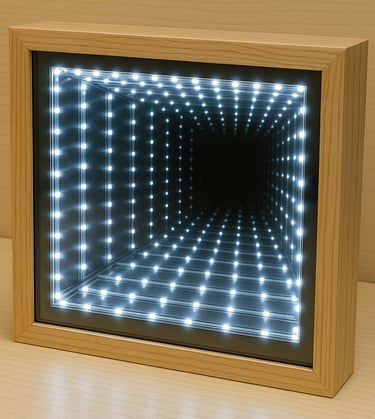
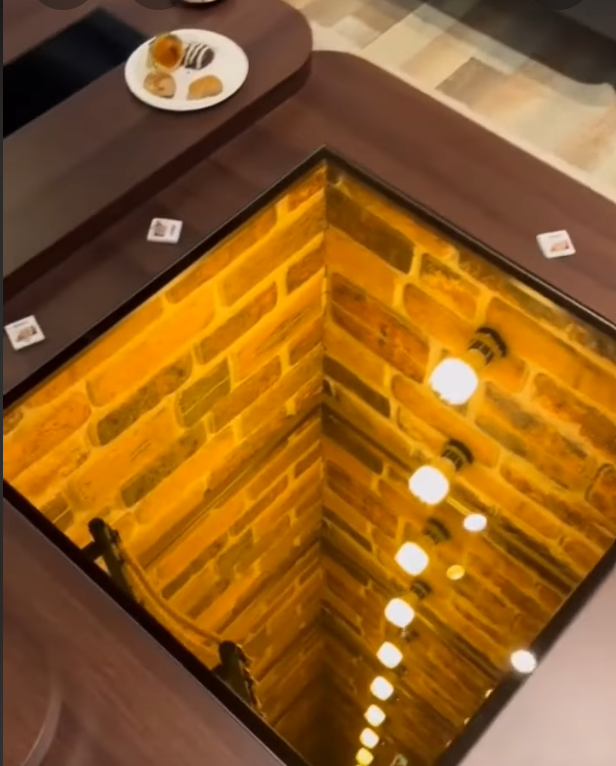
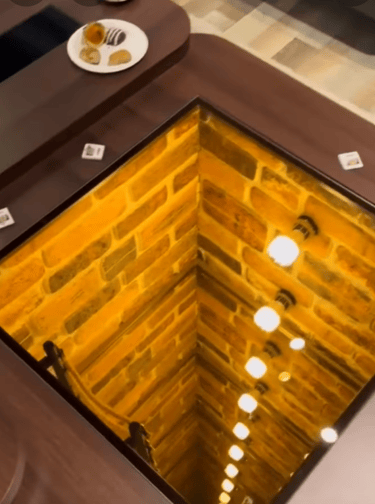
An infinity mirror is just two mirrors facing each other with a ring of LEDs sandwiched in between: a regular mirror at the bottom and a two-way mirror on top. Light bounces back and forth between the mirrors, appearing to recede “forever.” Mount that stack into a sturdy table frame and you’ve got the effect from the short—no mystery, just execution.
Parts & tools (choose your LED path)
Table & optics
Coffee table with a removable/route-able top (wood is easiest)
Bottom mirror: standard mirror cut to fit
Top panel: two-way mirror (glass or acrylic) cut to size
Black paint or adhesive flocking (to kill internal reflections)
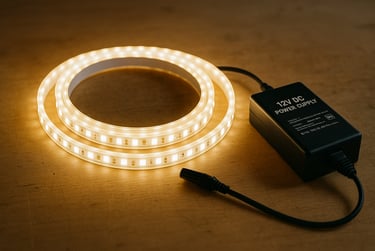
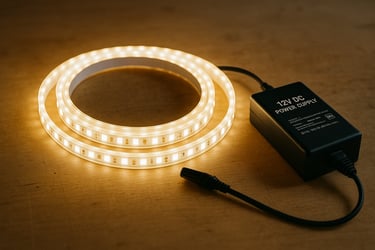
LED option A — simple (non-addressable, 12 V)
12 V LED strip (single color or RGB)
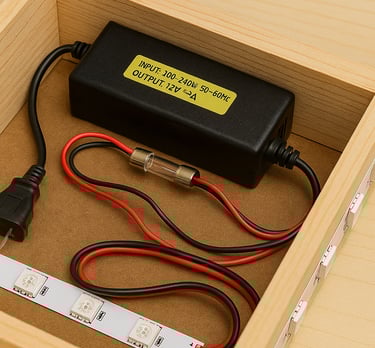
12 V DC power supply sized to wattage (follow the 80% rule)
Optional IR controller/dimmer
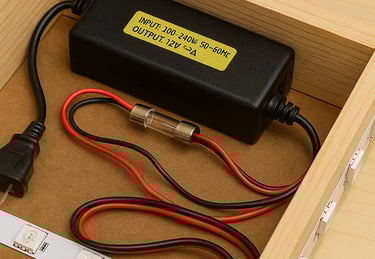
Barrel jack, in-line fuse (5×20 mm holder), 5–10 A fuse depending on load
LED option B — “wow” (addressable WS2812B / NeoPixel, 5 V)
WS2812B strip (a.k.a. NeoPixel)
5 V DC power supply sized to your LED count (derate to 80%)
Microcontroller (ESP32/Arduino) + level shifter (if needed)
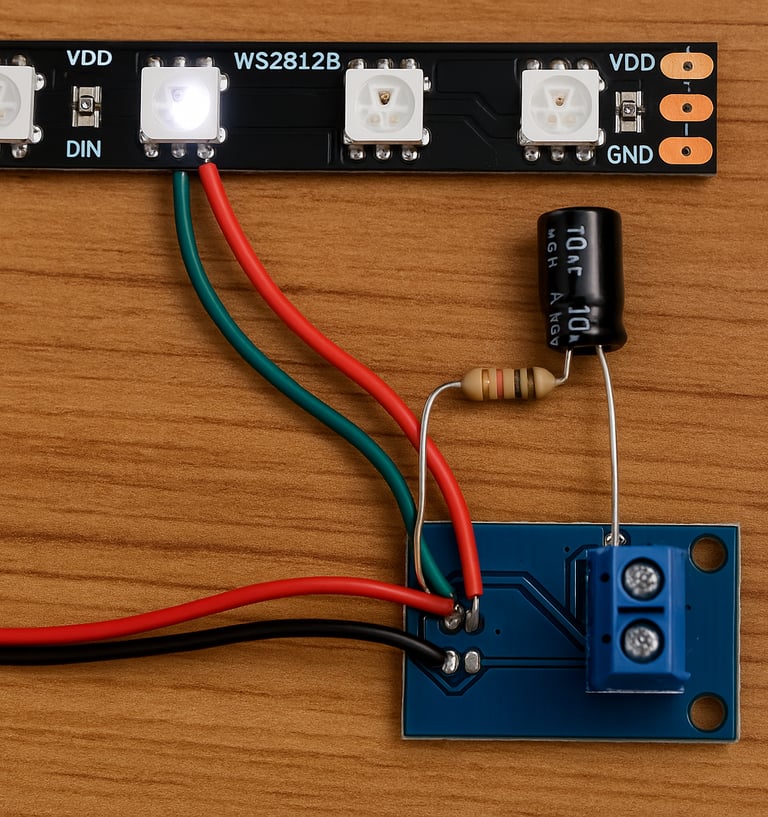
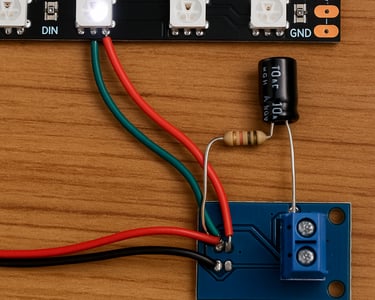
1000 µF 6.3 V+ capacitor across +/–, 330–470 Ω resistor on data-in
3-pin connector, fuse as above
Common hardware
Silicone LED mounting clips or VHB tape
Cable grommet, heat-shrink, wire, ring terminals, strain relief
Router/jigsaw, sander, clamps, safety gear
Step-by-step build
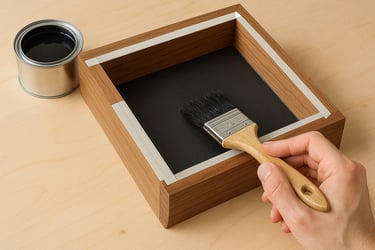
1) Plan the cavity
Measure the inner perimeter of the table opening; you’ll mount the LED strip facing inward around that frame. You need ~15–25 mm of vertical space between mirrors for the LED height and wiring. Paint the cavity matte black to deepen the effect.
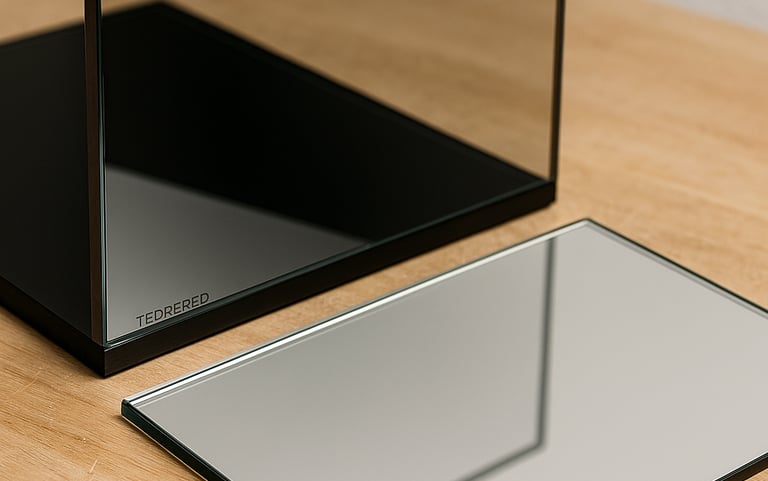
2) Cut the mirror stack
Have a glass shop cut:
Bottom: standard mirror to sit on a lip or cleats inside the frame
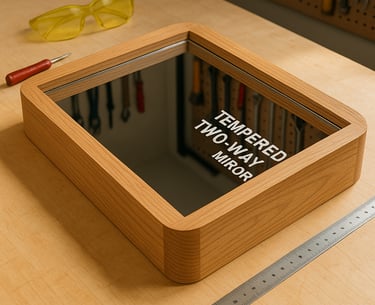
Top: two-way mirror (glass or acrylic) as the main tabletop
If you go acrylic: it scratches easier but is lighter and safer; use a fine-tooth blade, avoid melting the edge. For a tabletop, tempered glass is sturdier.
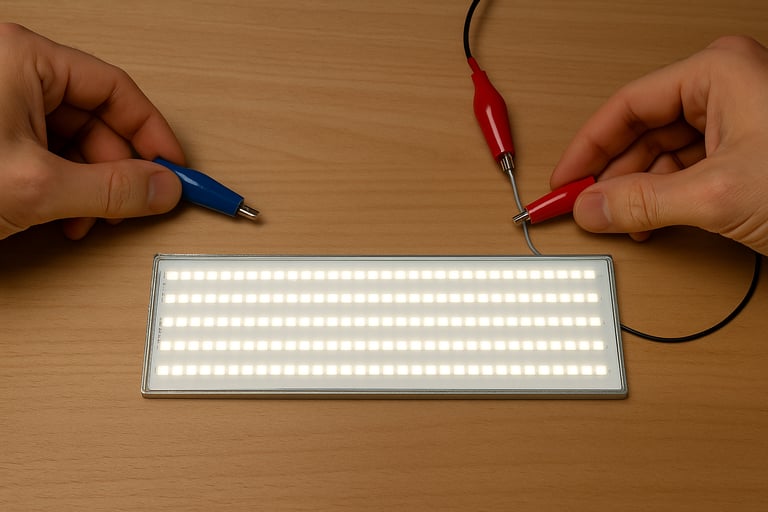
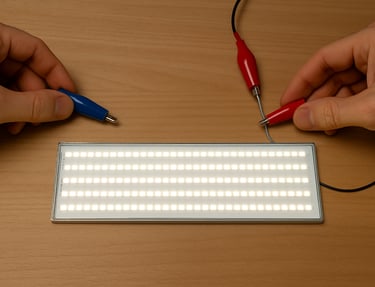
3) Prep the LEDs (test on the bench)
Light the strip before installing:
Match voltage: 12 V strips need 12 V; WS2812B needs 5 V.
Derate power: target ≤80% of PSU rating.
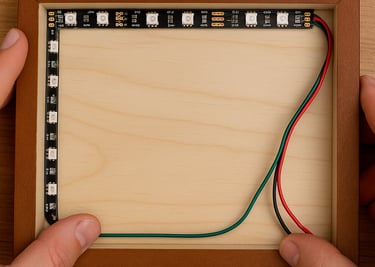
For WS2812B: install 1000 µF cap across +/– at the strip start; put a 330–470 Ω resistor on the data line; keep the controller close; connect GND first, then +5 V, then data (reverse to disconnect).
Skeptical note: Many “tutorials” skip the cap/resistor and then wonder why LEDs flicker or die. Don’t be that tutorial.
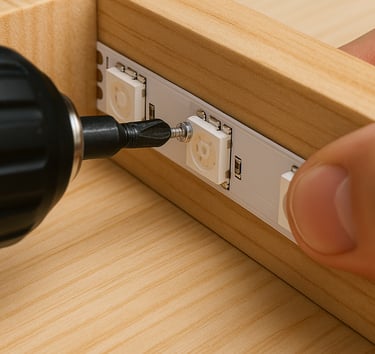
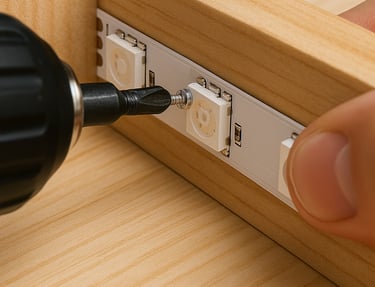
4) Mount the strip
Dry-fit the strip around the inner perimeter. Avoid sharp bends; use corner jumpers if needed. Fix with clips or VHB. Route a grommeted hole to the lower shelf for the PSU. Add a strain relief where the wire leaves the frame.
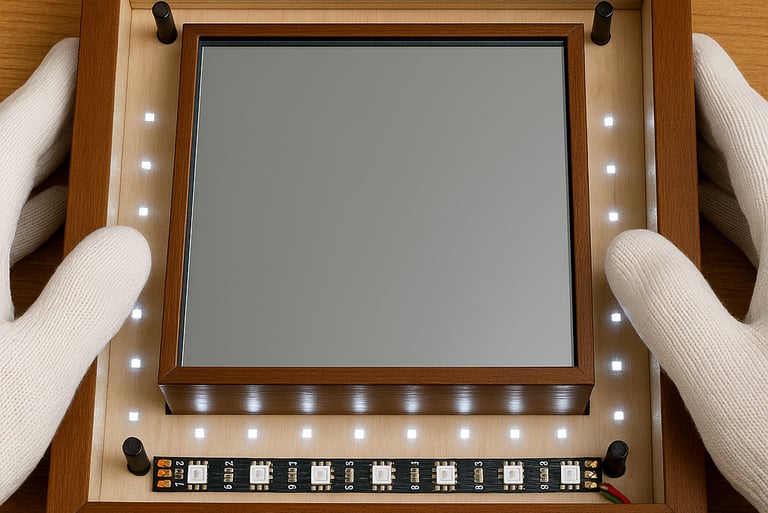
5) Install the mirror
Set the bottom mirror on cleats/lip with a thin foam tape to prevent rattle.
Drop in the LED ring (already adhered) or mount it first if your design requires.
Lay in the top two-way mirror with small, even spacers around the edge; avoid hard point loads on glass. A thin neoprene strip works.
6) Wire cleanly & safely
Mount the PSU under the table, hidden but ventilated. Add an inline fuse on the positive lead near the PSU. For addressable builds, consider injecting power at both ends of long runs to avoid voltage drop (especially if you exceed ~150 LEDs). Keep low-voltage cables tidy and protected from pinch points.
7) Program (Addressable Only)
Start with known-good libraries (FastLED/Adafruit NeoPixel). Keep brightness modest—beauty > brute force. Add gentle patterns for the living room; you don’t need “retina-burn white.”
First Power-On Checklist
No flicker or resets when you tap the table
PSU is warm, not hot
No light leaks under the frame; seal with paint or tape
Infinity effect is crisp (if washed out, your top panel is too transparent—use a stronger two-way mirror or add a diffusion film)
Budget vs. “Wow” Builds
Budget: 12 V RGB strip + dimmer, basic effects, dead simple.
Wow: WS2812B, per-pixel control, music reactive on ESP32, power-injection for long runs.
Cautions You’ll Be Glad You Read
Don’t mix voltages (12 V strip on 5 V PSU or vice versa = dead hardware).
Don’t skip the cap/resistor on addressable LEDs; they prevent brownouts and data spikes.
Don’t use untreated regular glass for tabletops—tempered is safer.
Don’t trap the PSU in a sealed box; heat shortens life.
Optional Upgrades
Recessed wireless charger (away from the mirror cavity)
Music-reactive patterns (mic + FFT on ESP32)
Secondary diffuser behind the two-way mirror to soften hotspots
Hinged or removable top for easy cleaning and service
FAQs (Quick Wins for Search)
How much does it cost?
Roughly $125–$350, depending on glass, LEDs, and electronics.
How long does it take?
One weekend if you have your parts cut and ready.
Glass or acrylic?
Glass (tempered) is sturdier for a tabletop. Acrylic is lighter/safer but scratches easier.
Will normal mirrors work?
You need one standard mirror (bottom) and one two-way mirror (top). Two standard mirrors won’t give the effect.
Can I use it as a daily coffee table?
Yes—just ensure a sturdy frame, tempered top, and tidy wiring with strain relief.